


Kali Linux 2020.4 release is now available for immediate download. Kali Linux is an Advanced Penetration Testing Linux distribution suited for Ethical hacking, Penetration Testing, and network security assessments among other security related operations.
This Linux distribution has evolved from its initial release, to being a rolling release Linux distribution that can be used for general computing purposes.
What is new in Kali Linux 2020.4
- ZSH is the new default shell – We said it was happening last time, Now it has. ZSH. Is. Now. Default.
- Bash shell makeover – It may not function like ZSH, but now Bash looks like ZSH.
- Partnership with tools authors – We are teaming up with byt3bl33d3r.
- Message at login – Proactively pointing users to resources.
- AWS image refresh – Now on GovCloud. Includes Kali’s default (command line) tools again. And there is a new URL.
- Packaging guides – Want to start getting your tool inside of Kali? This should help.
- New tools & updates – New Kernel and various new tools and updates for existing ones, as well as setting Proxychains 4 as default.
- NetHunter updates – New NetHunter settings menu, select from different boot animations, and persistent Magisk.
- Win-KeX 2.5 – New “Enhanced Session Mode” brings Win-KeX to ARM devices.
- Vagrant & VMware – We now support VMware users who use Vagrant.
Install Kali Linux 2020.4 – Step by Step with Screenshots
Step 1: Download Kali Linux installer ISO image
$ wget https://cdimage.kali.org/kali-2020.1/kali-linux-2020.1-installer-amd64.iso
If you have torrent application, you can use the torrent link instead. There are ready to boot images for VirtualBox and VMware. If you want the Live image, pull it under the Kali Linux (Live) section.
Step 2: Create bootable USB drive
If installing on a Laptop, Desktop or server, you’ll need to create a bootable medium for installation.
On Linux, use dd command:
sudo dd if=kali-linux-2020.1-installer-amd64.iso of=/dev/sdX bs=512k
Step 3: Boot Kali Linux installer image
Insert bootable USB Drive to your computer and boot from it to start installation process. Once booted:
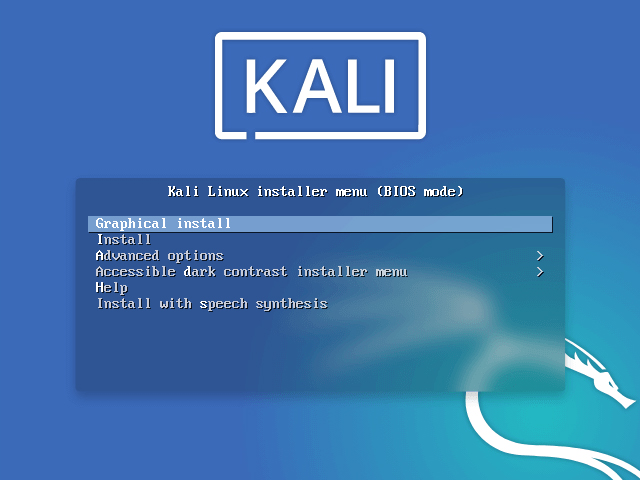
Select graphical installation method – Recommended for new users.
Choose the language to use during installation process – English for me.

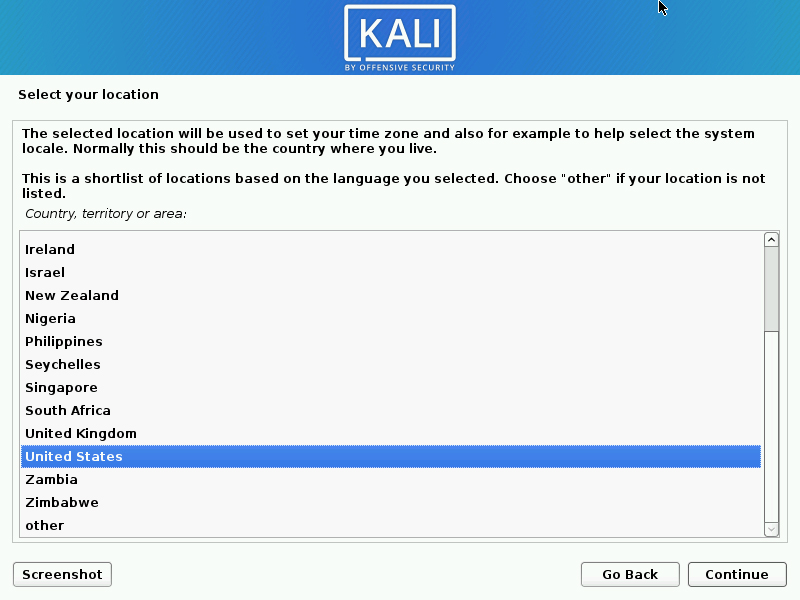
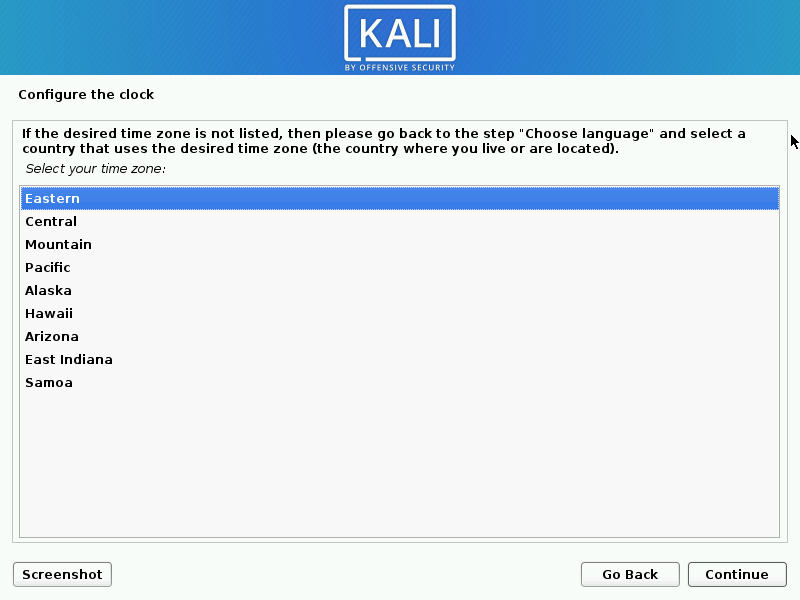
Select a country for the correct timezone to be set for your machine during installation.
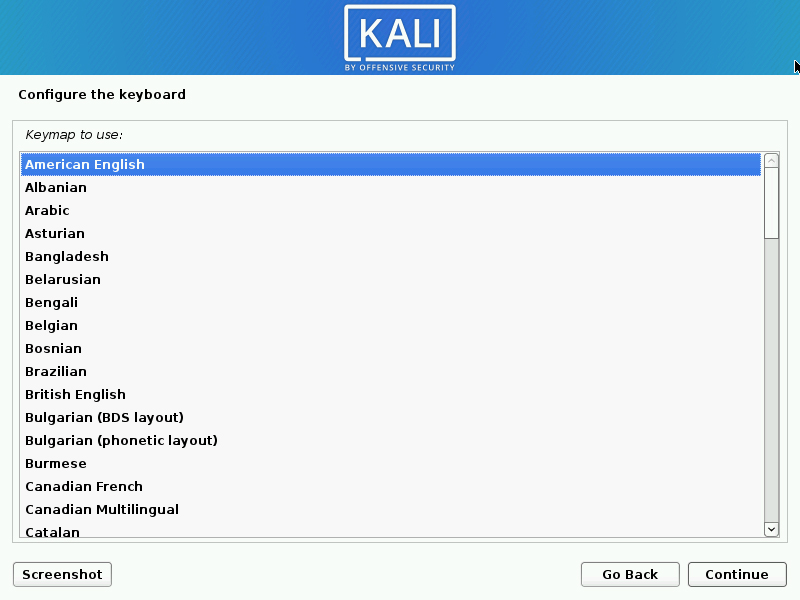
Configure Keyboard keymap.
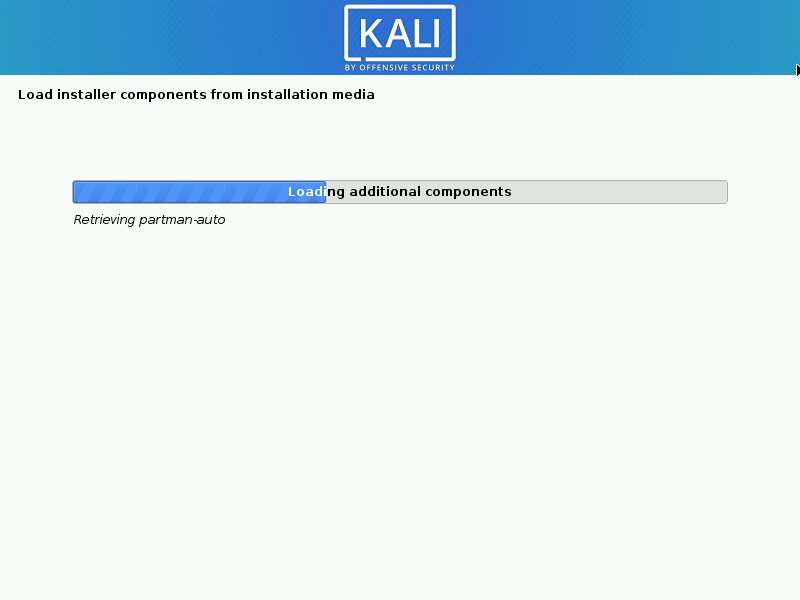
Wait for the installation components to be loaded.
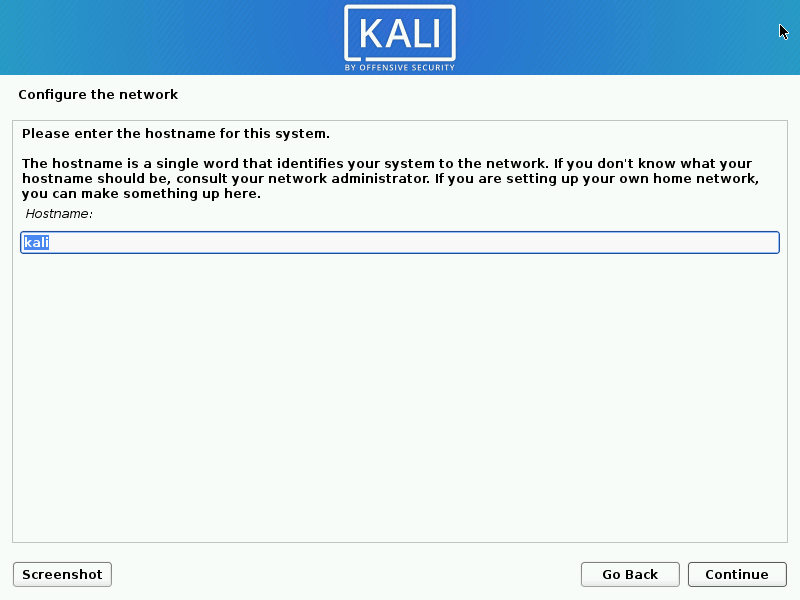
Set your machine hostname.
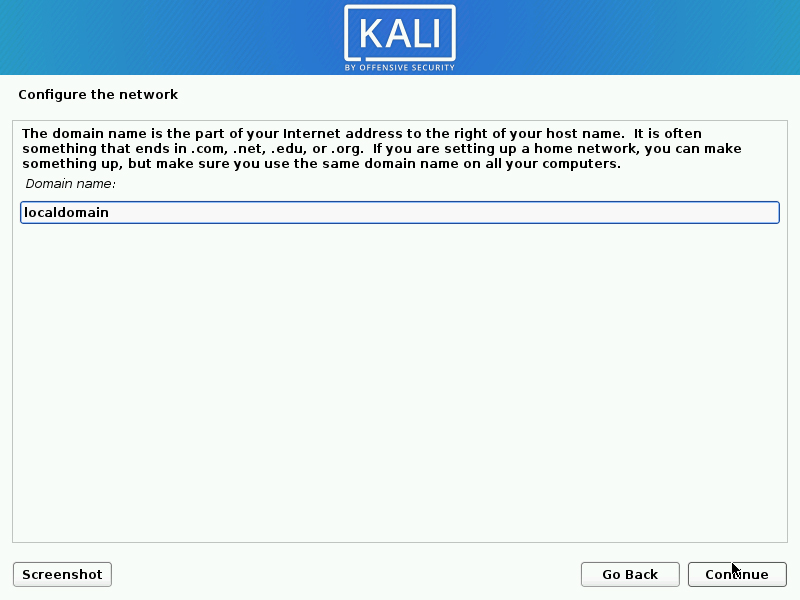
Set domain name, this will be part of FQDN – <hostname>.<domain_name>
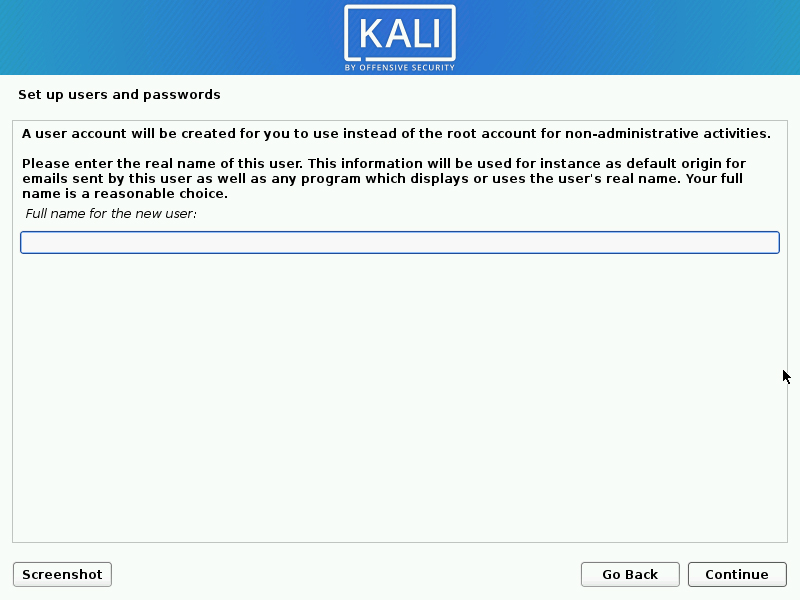
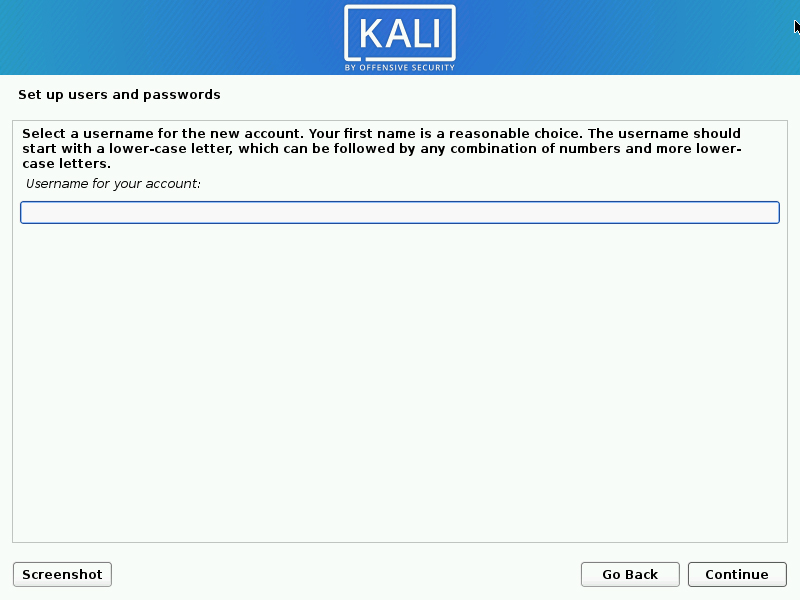
Create a user for non-administrative activities – set full name and username.
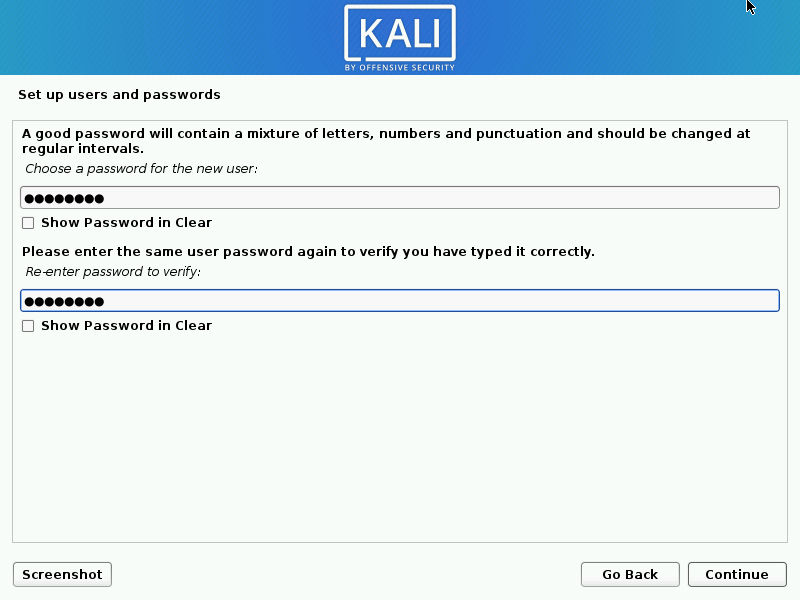
Set password for the user.
Set desired timezone
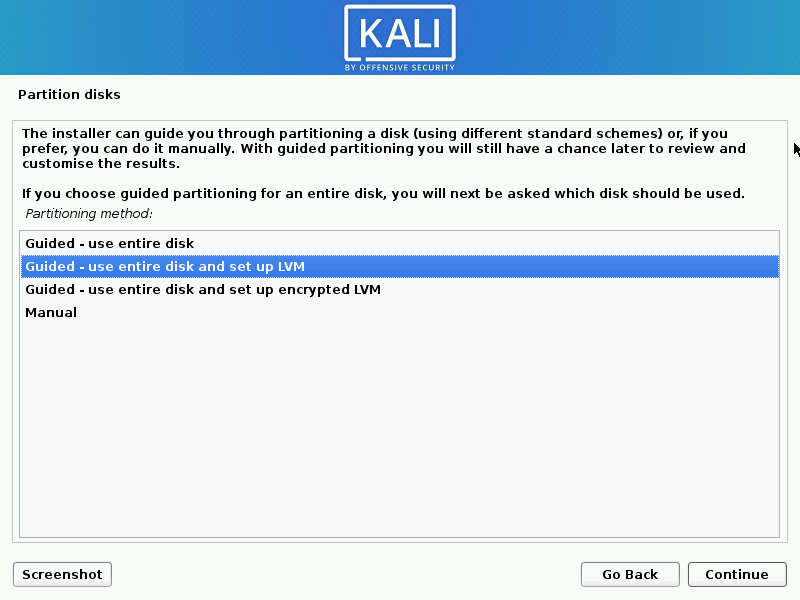
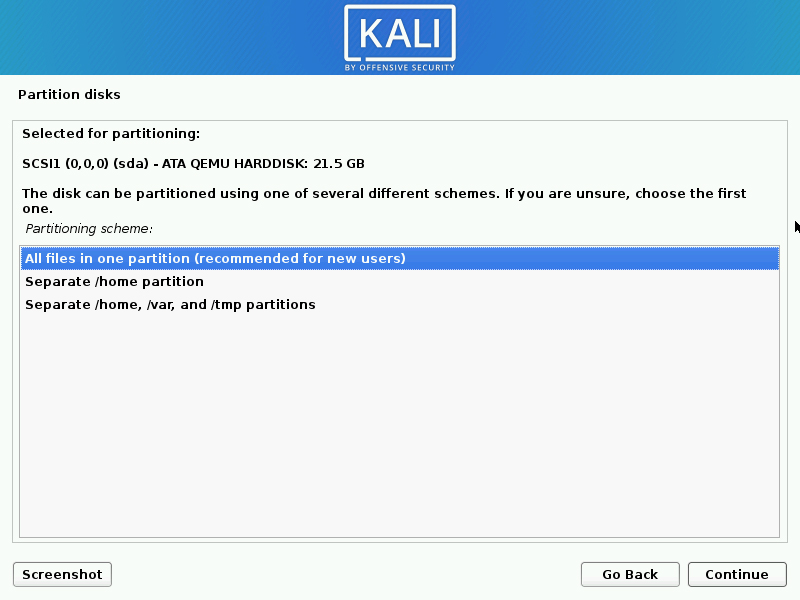
Choose disk partitioning method – If you’re not sure, go with “Guided – use entire disk“.
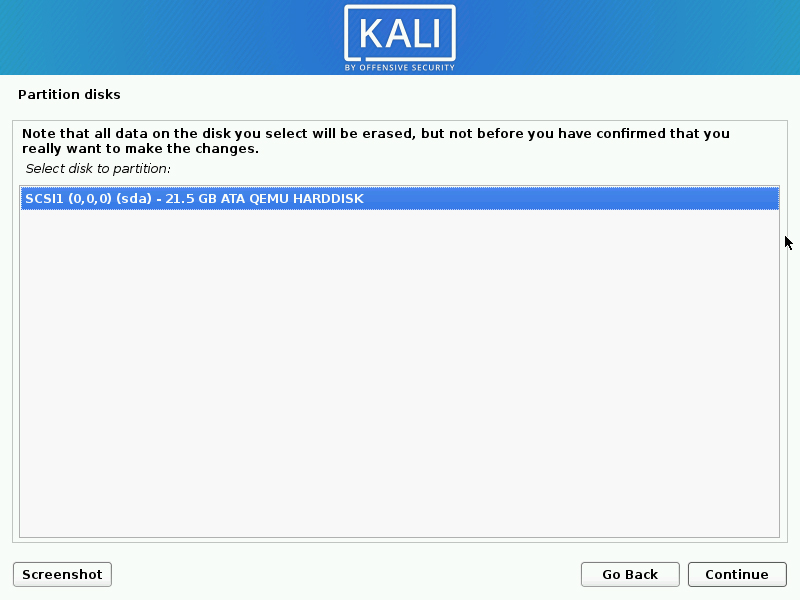
Select disk for installation.
Select how partitioning should be done. For new users, All files in one partition should work fine. If you have enough installation disk size, you can go with separate /home, /var, /tmp partitions. This may require doing custom partitioning in the previous steps for accurate disk allocation.
Write changes to disk.
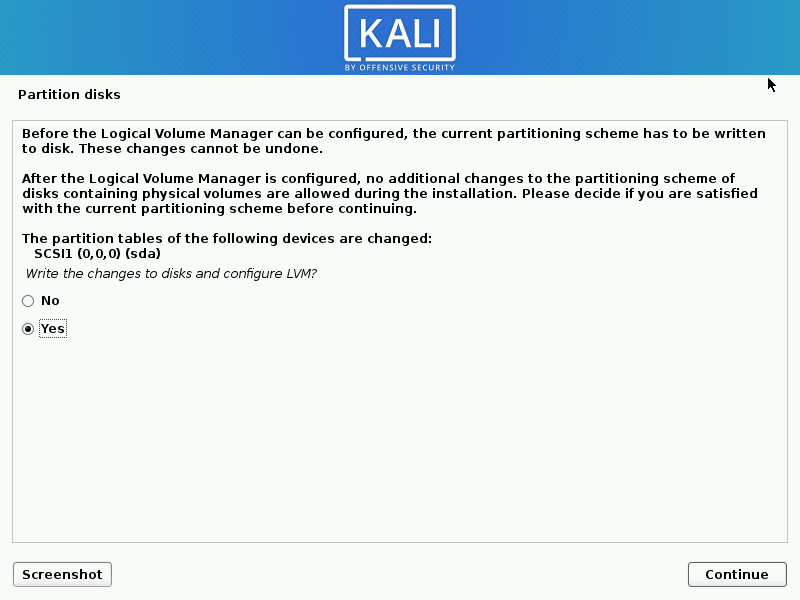
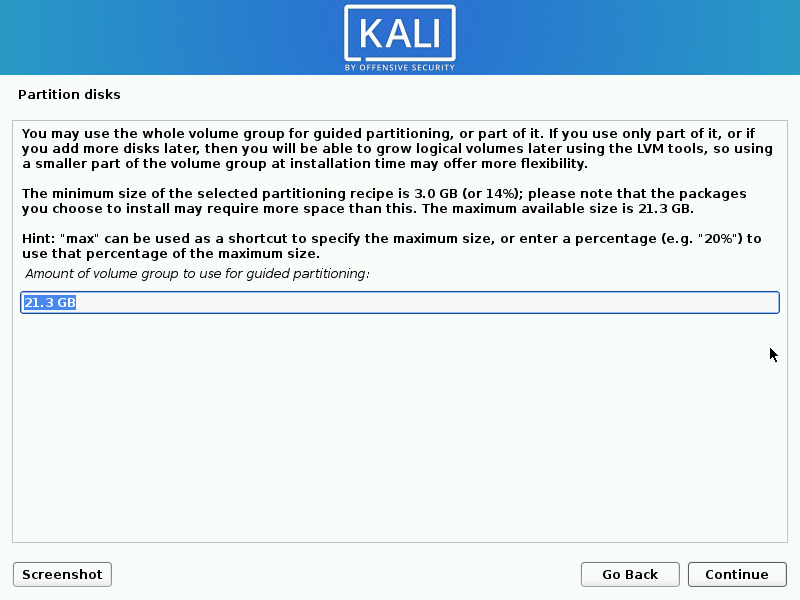
If you chose LVM, set size of volume group to be created.
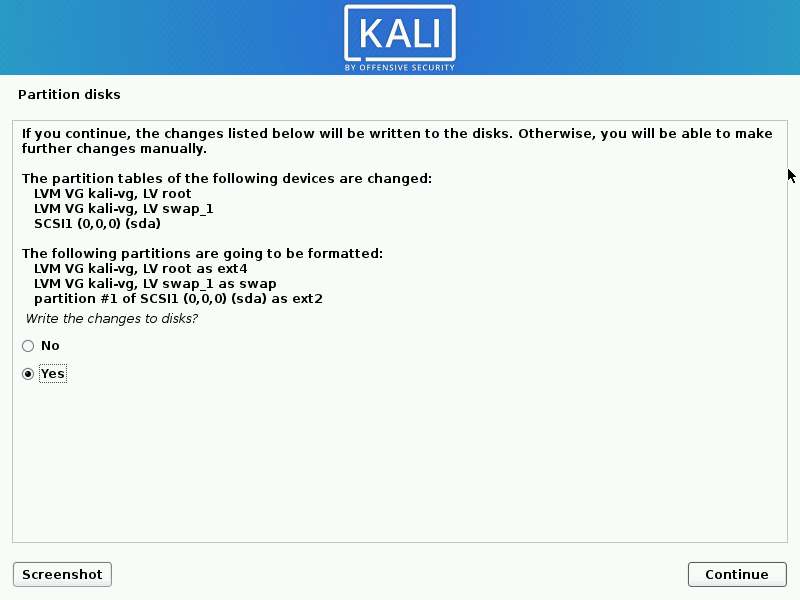
Commit changes to disk
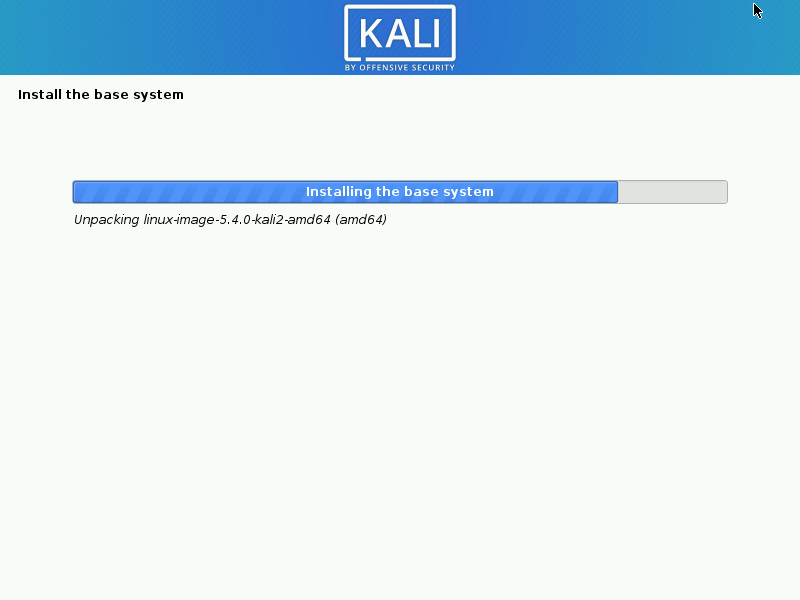
Wait for the installation to start – it should take few minutes.
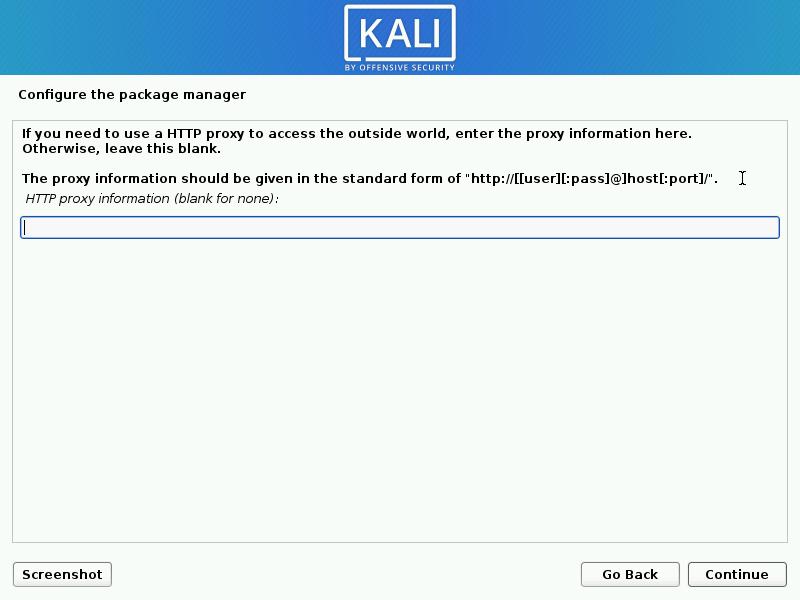
If you have a network proxy for external access then configure it in the next screen.
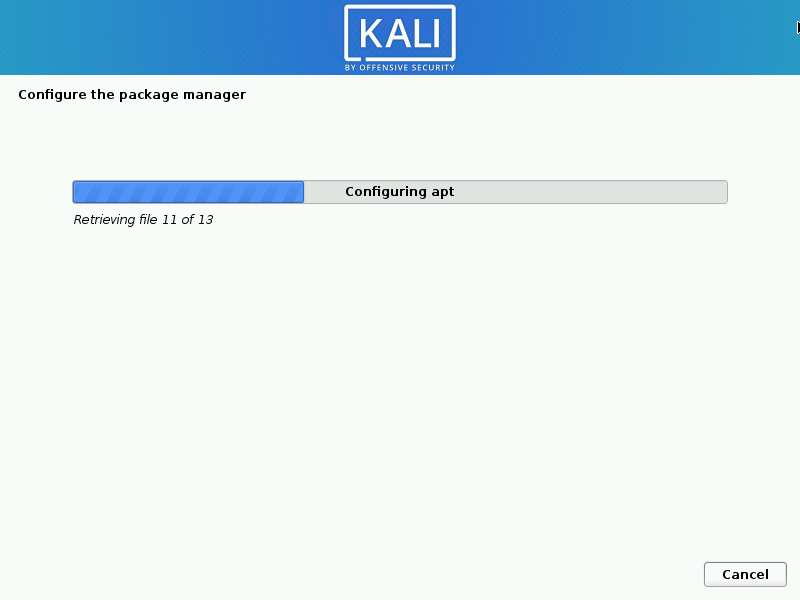
Package manager apt configuration will start.
Choose software applications and Kali desktop environment to install.
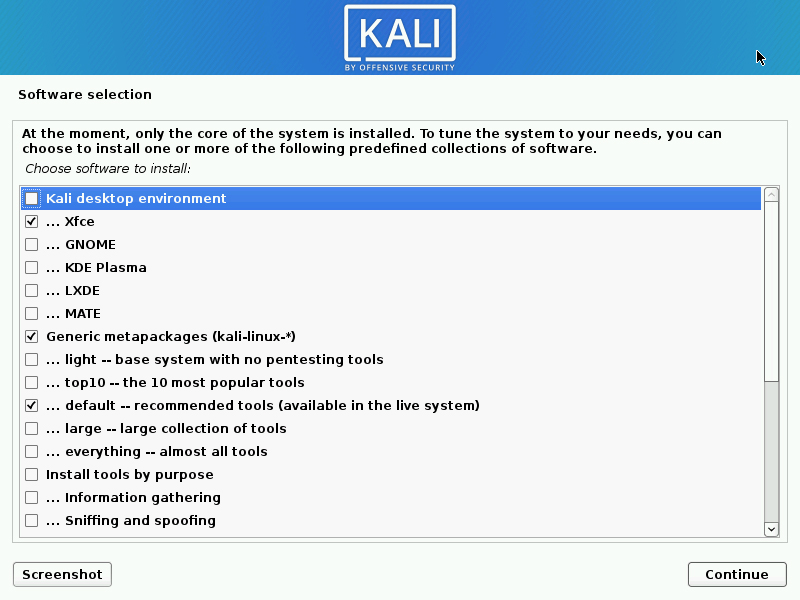
You can choose tools based on your Kali Linux use case – Purpose for installation.

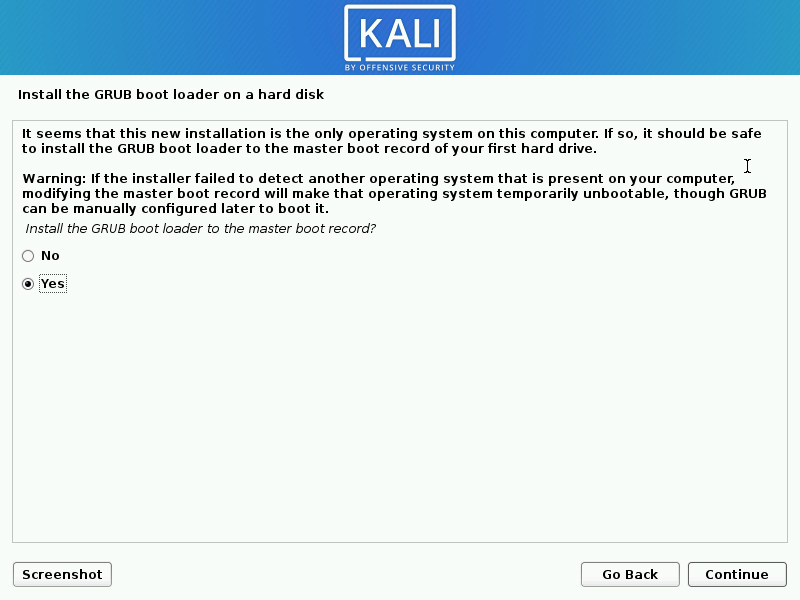
Install the GRUB boot loader to the master boot record so you can boot your Kali Linux image.
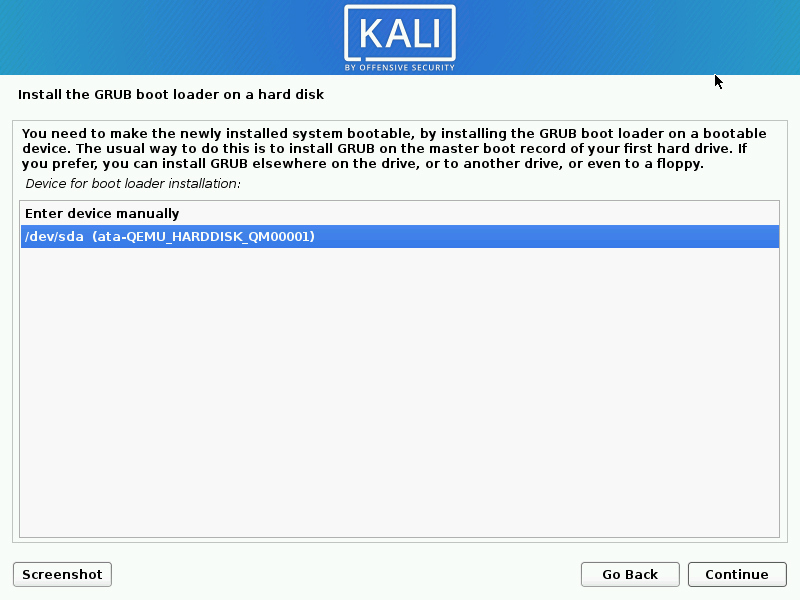
Select target disk for GRUB installation – Mostly the first disk.
Your installation completed successful if you don’t see any error messages.
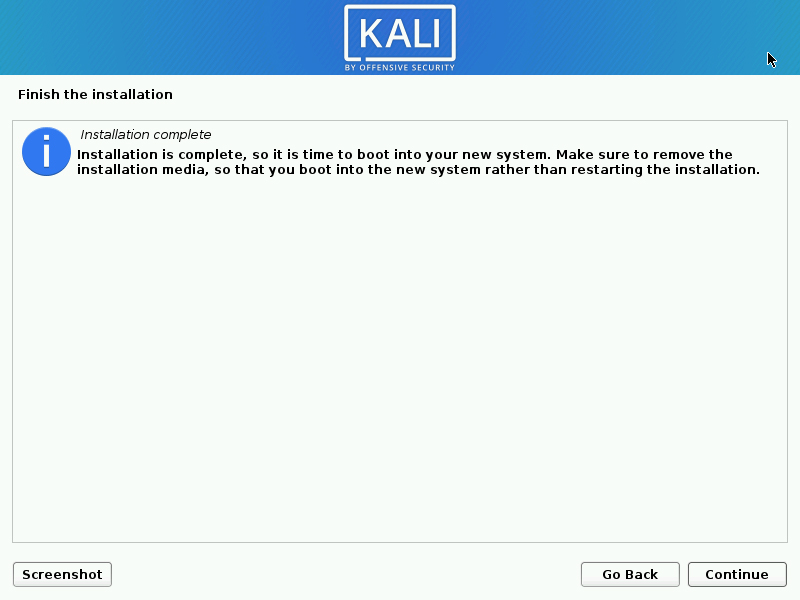
You can continue and reboot your system to start using Kali Linux.


")
